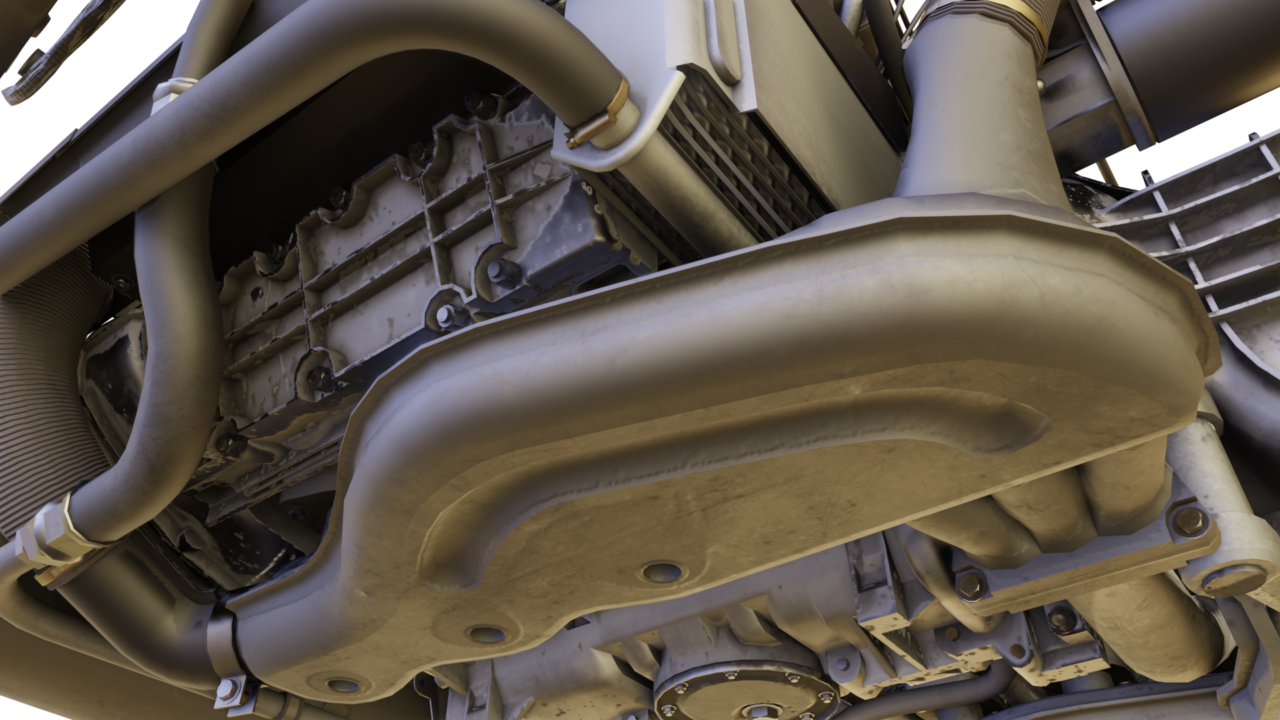
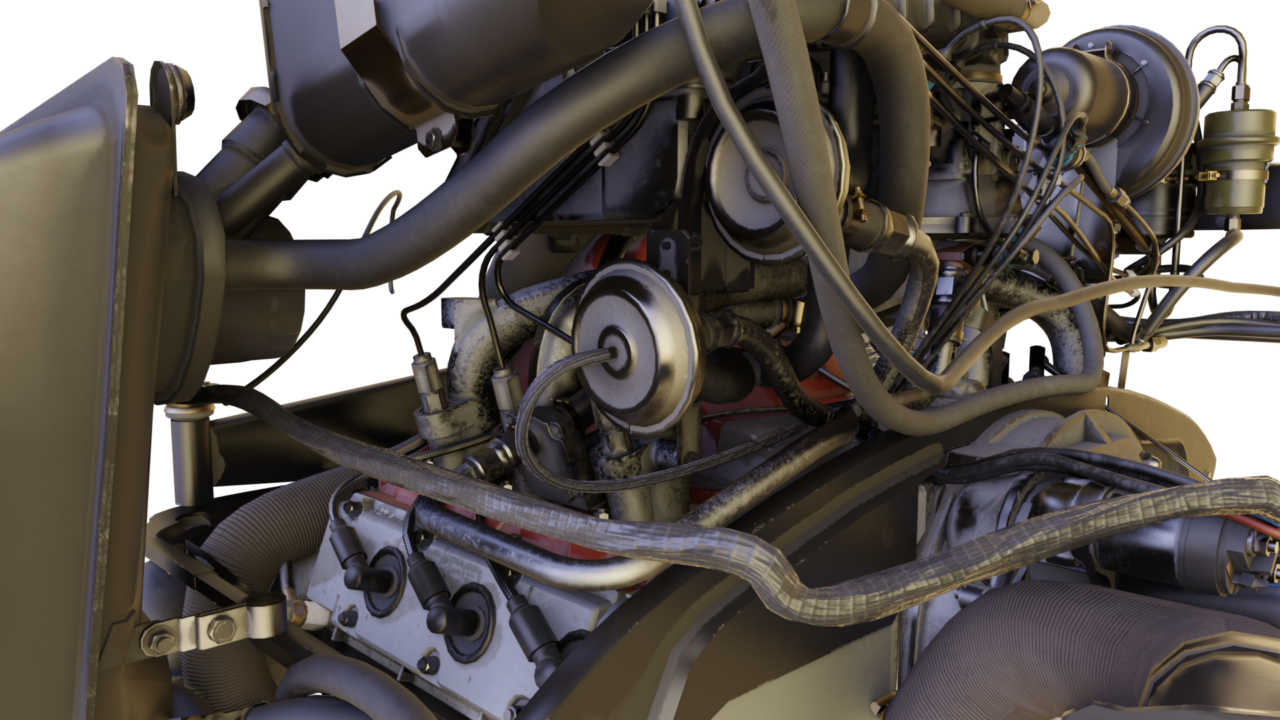
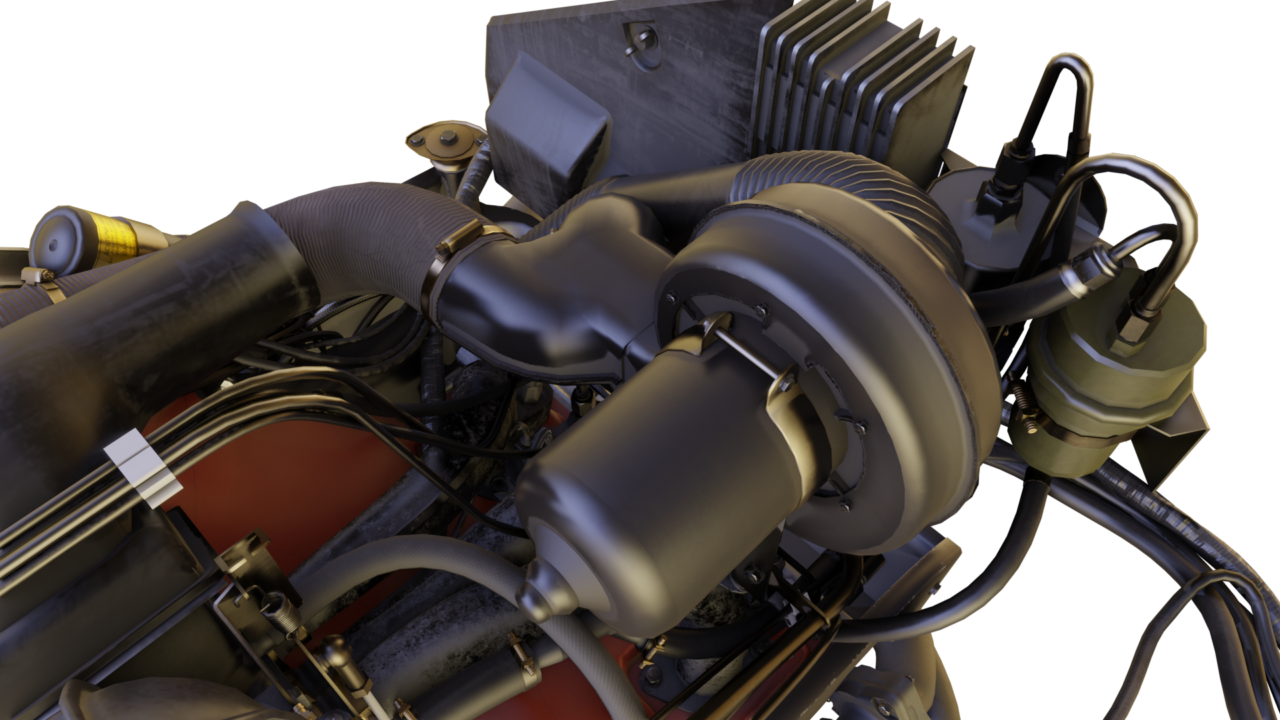
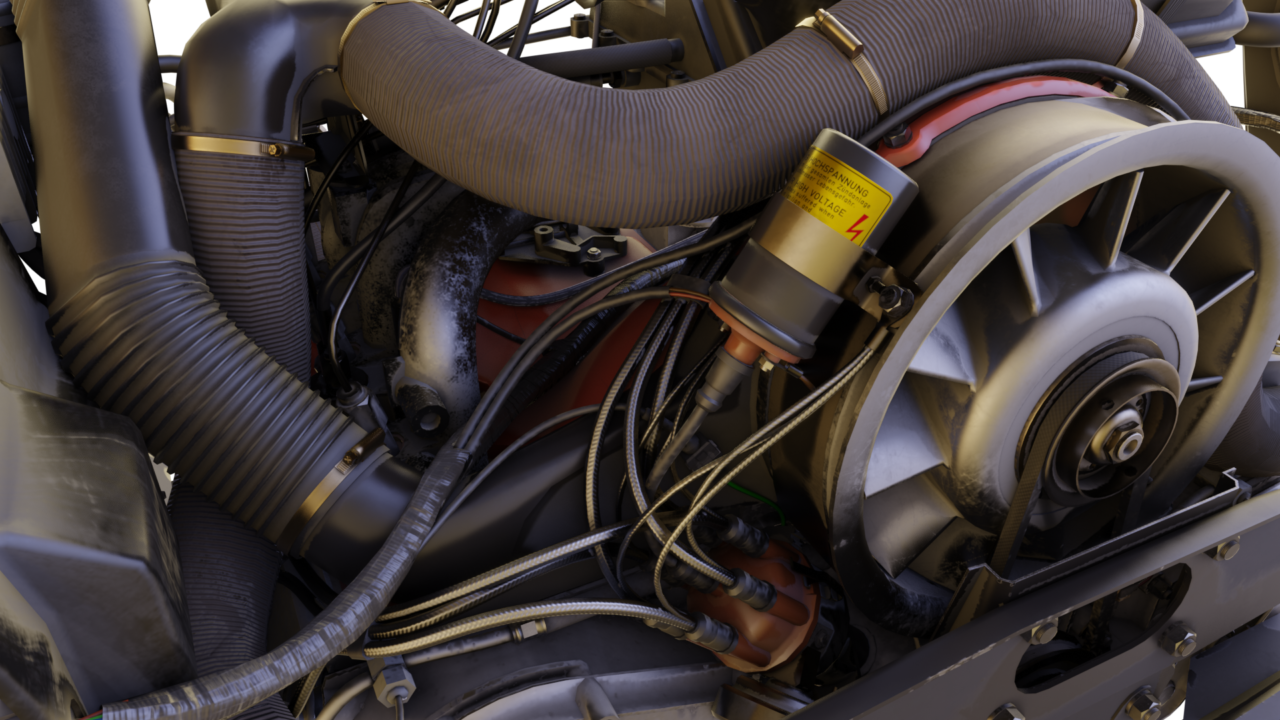
FLAT6
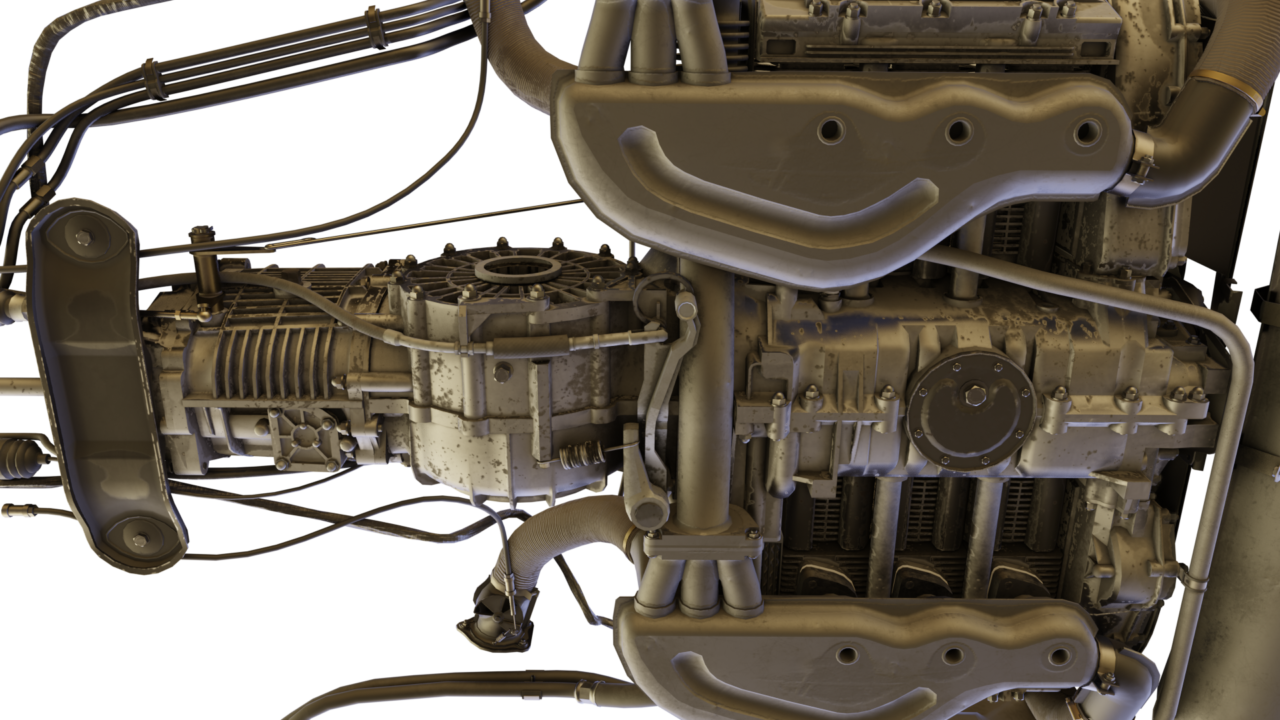
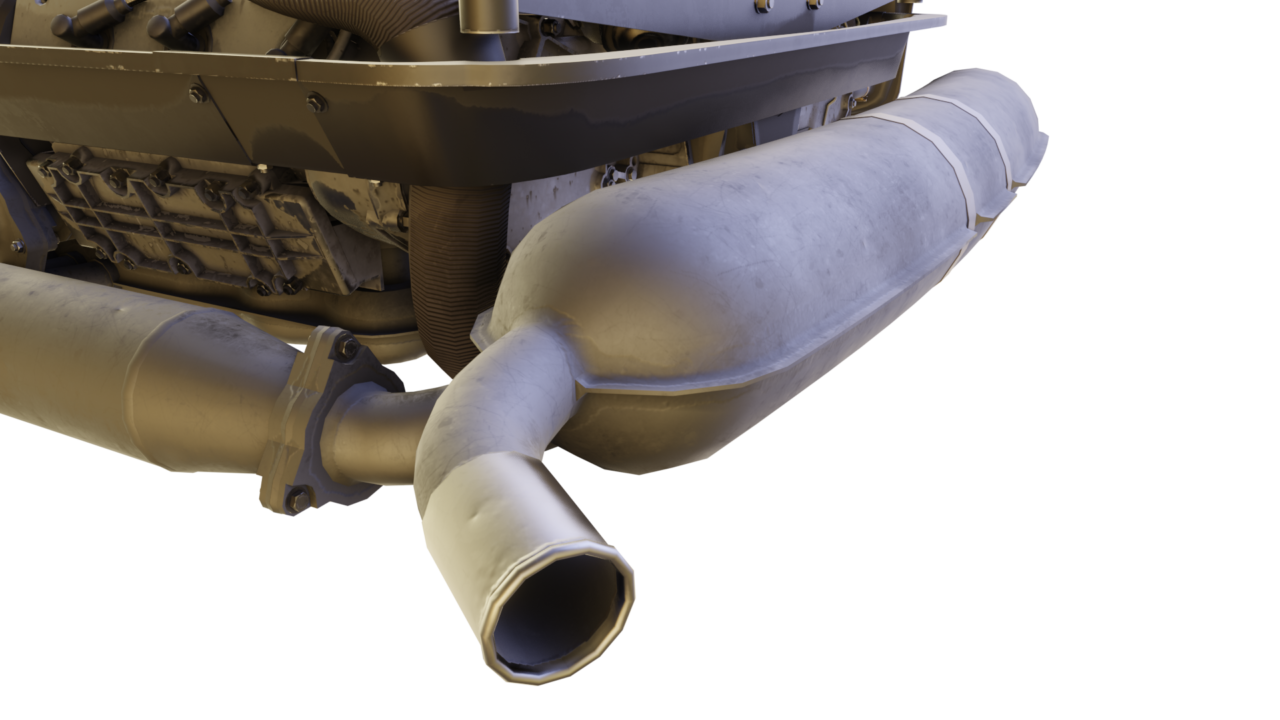
3D study of the famous Flat Six Engine
There was no fancy idea behind it, it was more of a fan art with some technical enthusiasm. It started as a not-so-much detailed model to fill up the engine compartment in a 911SC model. After modelling the fan I actually started to enjoy adding more and more detail and after a few days I realized I need more information to avoid producing fakes. I’ve had this amateur syndrome where I was constantly improving the piece until I found out I’d need to remodel it completely anew as the levels of detail didn’t match anymore. Constantly learning? Well…
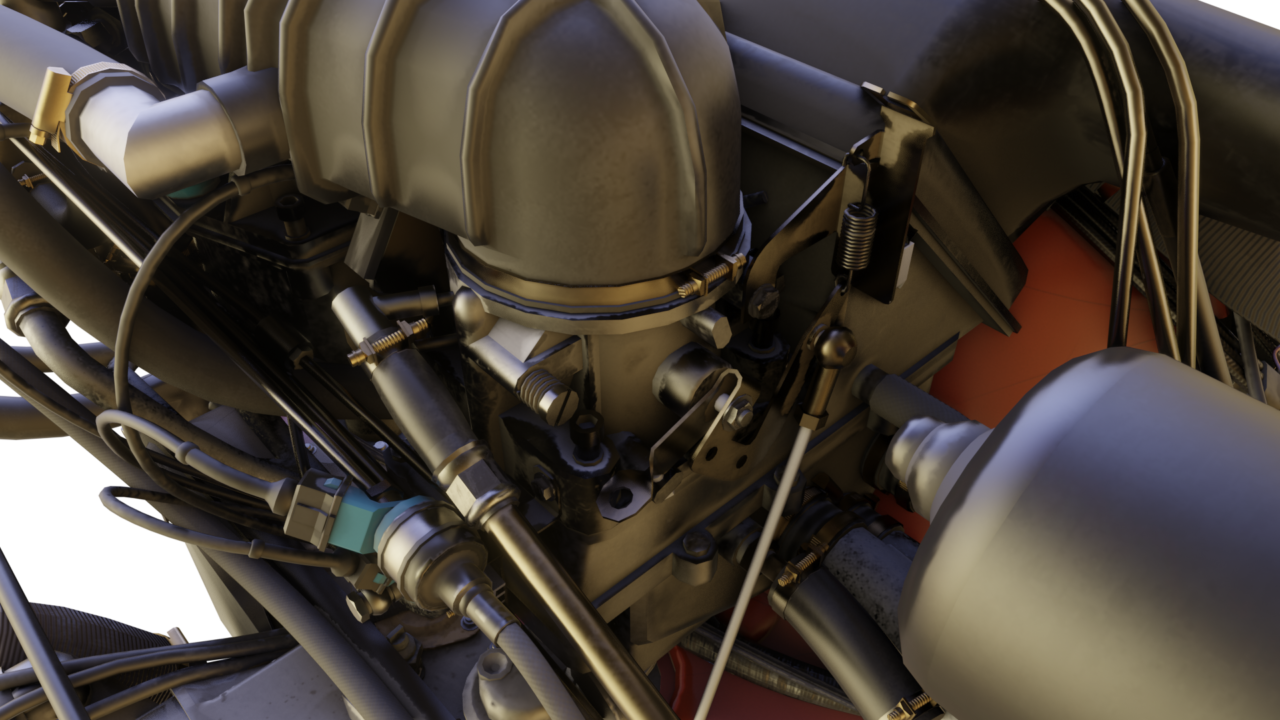
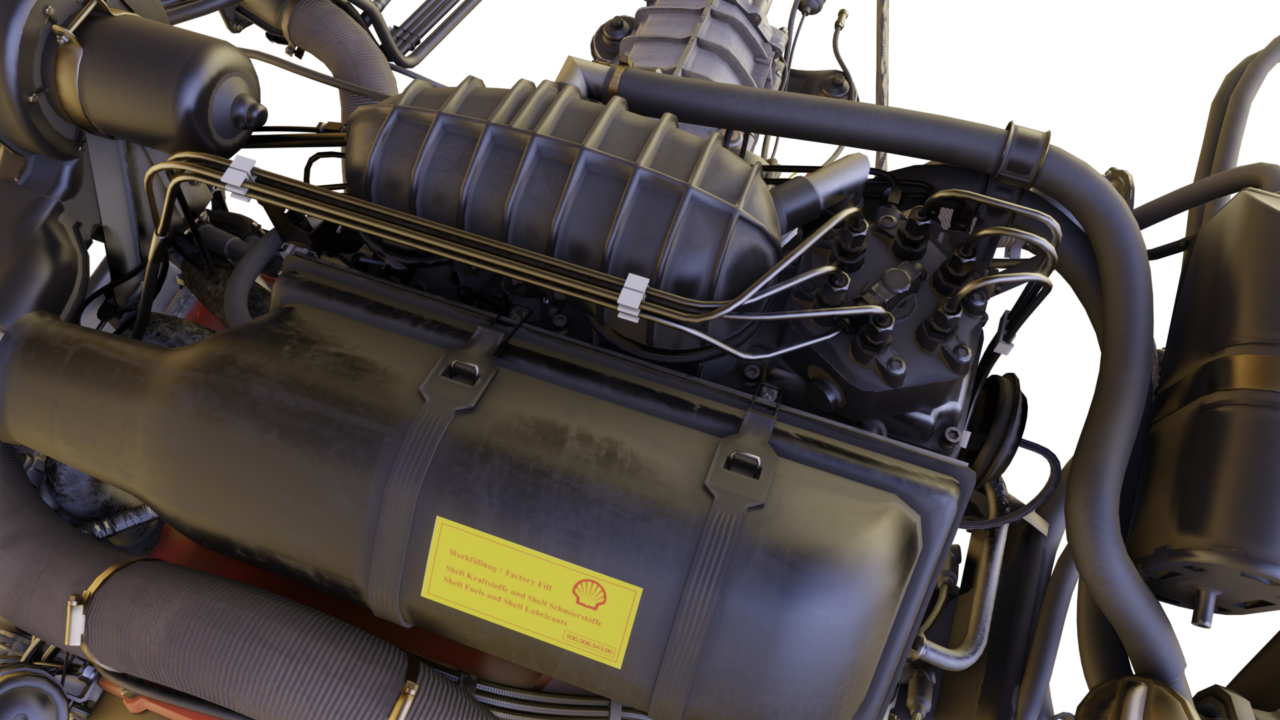
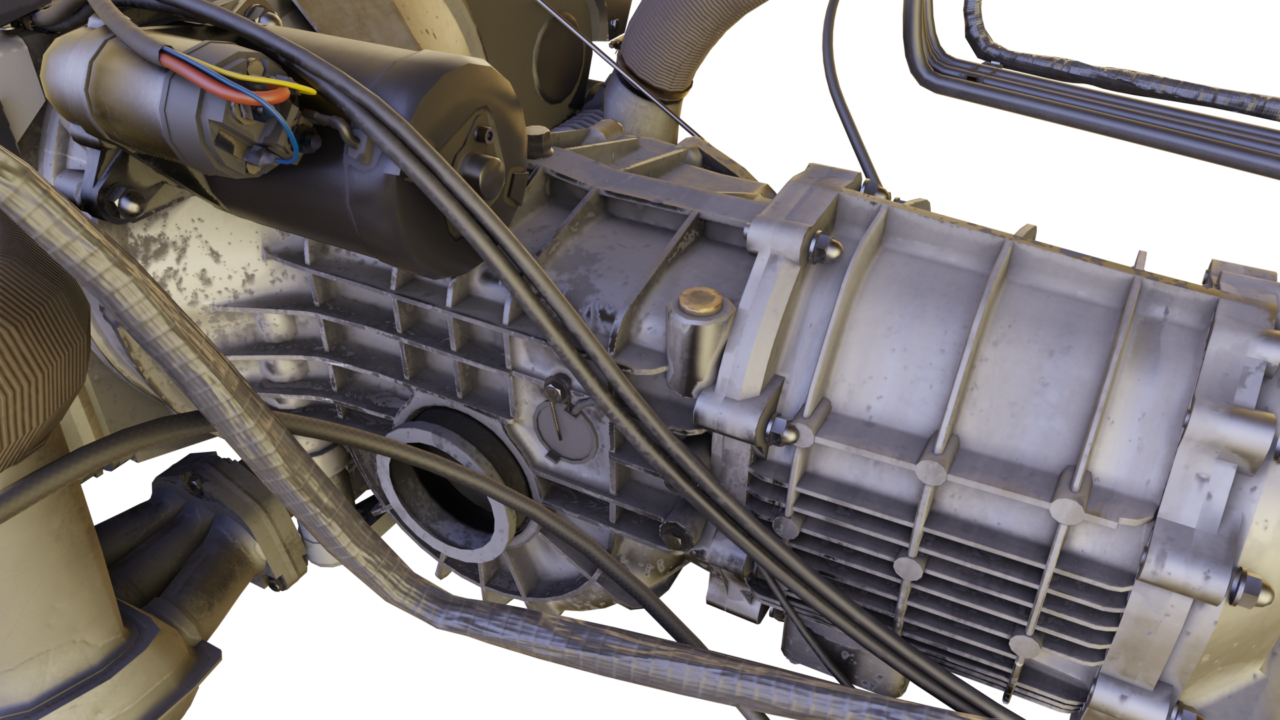
The model now is technically accurate and is (hopefully) not missing any parts of the engine. The tubes, wiring, seals… everything is there and should also be correctly placed. Again, hopefully.

Yes, putting it all together took a large amount of references. Anyone who’s had the opportunity to dive his / her hands deep into the engine compartment of an old 911 can confirm that it’s no bed of roses and that there isn’t any space for any camera. So taking photos of an assembled mounted engine was a no go. I’ve contacted a vintage car restoration shop in Hungary and went there for photoshooting. Firstly I planned to make a photogrammetry model as a reference but the area where the engine lay was full of other old vehicle parts and the lighting conditions were just bad. As this was unfortunately not possible I made a ton of pictures and went back to search the internet for engine assembly blogs, oil change tutorials and blueprints to put all the docs together.

Now, to the modelling. As mentioned, there was no photogrammetry possible to create 3D references so I based the modelling on measurements and pictures. The modelling process was two steps forward, one back. As next parts were modeled I often realized that the previous ones didn’t match and needed to be adjusted or modeled anew.
The 3D model is polygonal, quads mainly. I tried to keep the topology as clean as possible, taking in account the visual continuity and smoothness. Unwrapping the whole model was a tedious process and because of the need of nice detail I separated the model into parts to be able to keep the textures smaller (but in a larger quantity).
The texture painting was the real fun part. The only struggle was when deciding if making it dirty or clean as new. I went the middle way and painted the model as used (but taken care of).
Few numbers and technical data:
Duration: it took me about 3 weeks to model, clean up, unwrap and paint the textures
Tris: as this is a game ready model this number is important – 247073 tris
Texture sets: to keep the detail high there are 11 texture sets used
Rendering: the pictures and the video on this page were done in Unreal Engine 5 Lumen and Blende Eevee
Software used: Blender, Substance painter, Unreal Engine… the usual

There is (as always) space to make things better, more optimized. I tried to keep it all midpoly to make it usable on mobile too. You can always subdivide, add loops and more detail, but I’ve had to draw myself a line.
Is this actually an asset? Will anyone be interested in it? No idea. I’ll give it a try but as this is a model without a purpose and as it was made as a part of 911SC model I’ll be offering it included in that model.
But maybe you’re modelling a car and need an engine (very probable) or need some detailed 3D engine laying around in a zombie scenery (even more probable). In that case, this is your engine!
I hope it’ll find itself some other 911 engine enthusiasts as myself that would like to see it in whole and explore the details – for those, I’ve put it on sketchfab.com (or you can give it a spin right here).
Useful links:


