911SC
A tribute to one of the most beloved cars
Inspired by many great 3D vehicle models I’ve seen all over the internet and wanting to try modelling something of that kind myself, I’ve made a list of vehicles that would be suitable (= that I liked) and threw myself into it.
I’d never think it would be that hard. Even after researching a lot, putting together a ton of information, design sketches, prints from original car instruction manuals I still had to rebuild what I’ve modeled the day before. To get the proportions right, the right amount of detail to achieve the same look as the real piece. After a week of trying I still felt I’m only at the beginning.
After 10 days I found a way (I think it was just accidentally) to model the basic shape of the car that would have the right topology that won’t collapse when carving the details. What I meant is that it started to look like the original (but I was still very very far away).

The modelling was hard, I have to admit it. I wanted to be precise, use a clean topology, avoid using subsurface modelling to keep it game ready. Quads, quads and some tris.
On some places I needed to give a thickness to the metal sheets to be able to show it from both sides and show the edge. This is quite difficult in a low / mid poly approach as it shows the low amount of polys on the edge but also because both sides of the polygon sheets need to have almost the same topology.
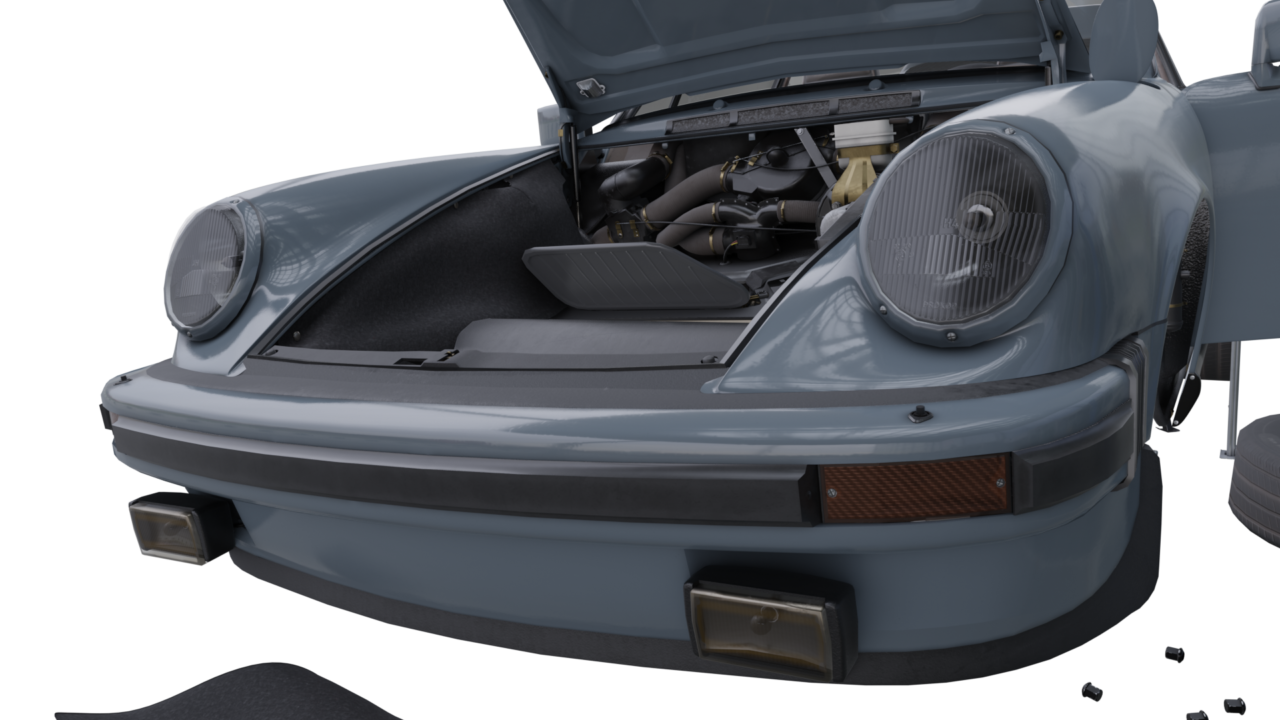
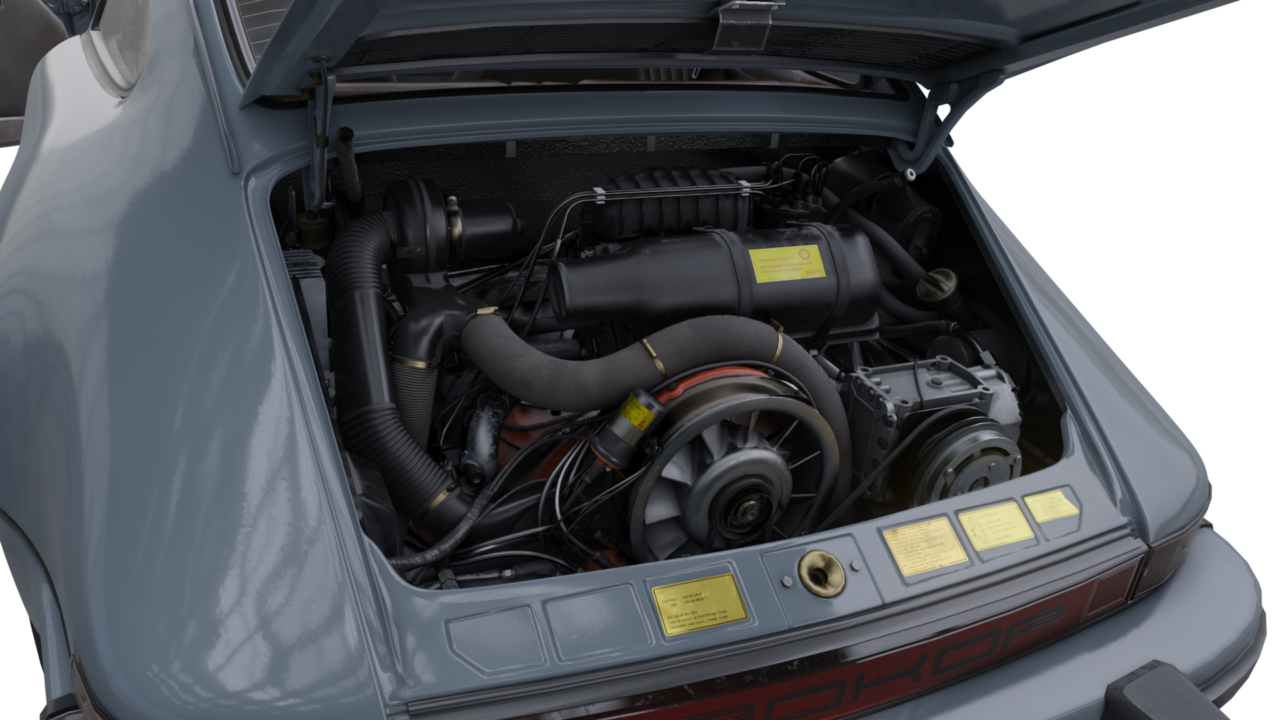
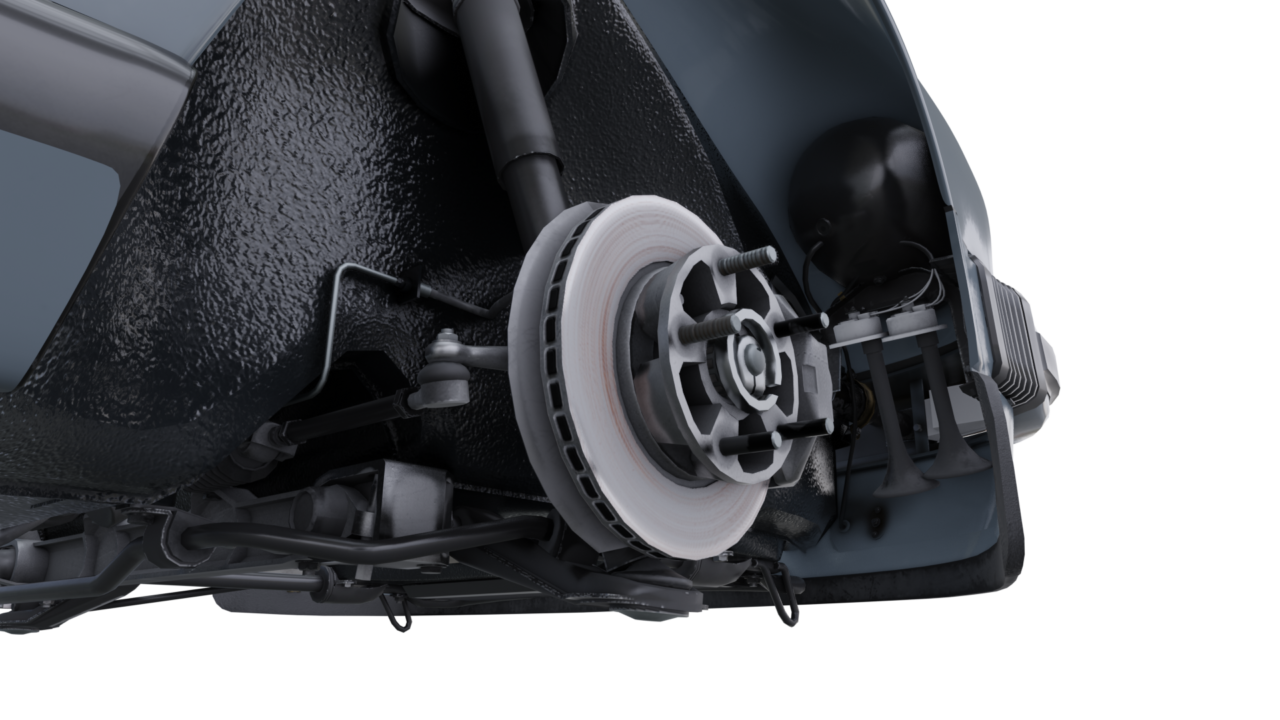
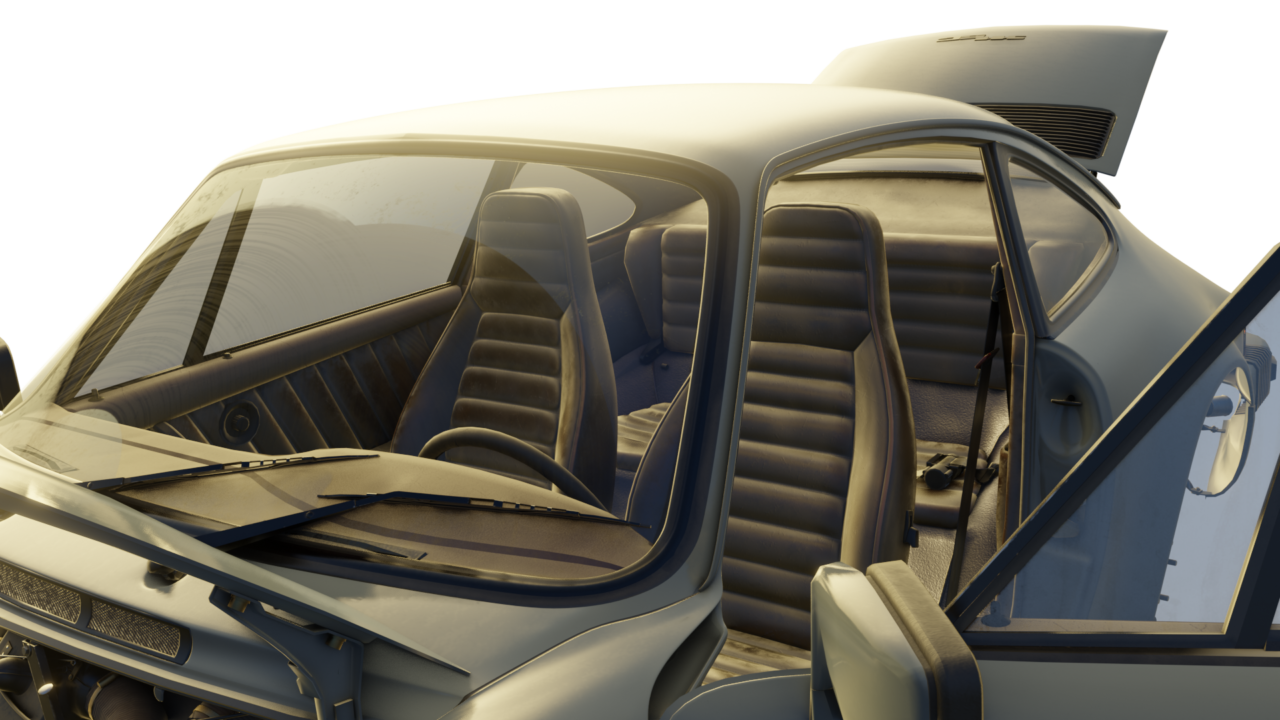
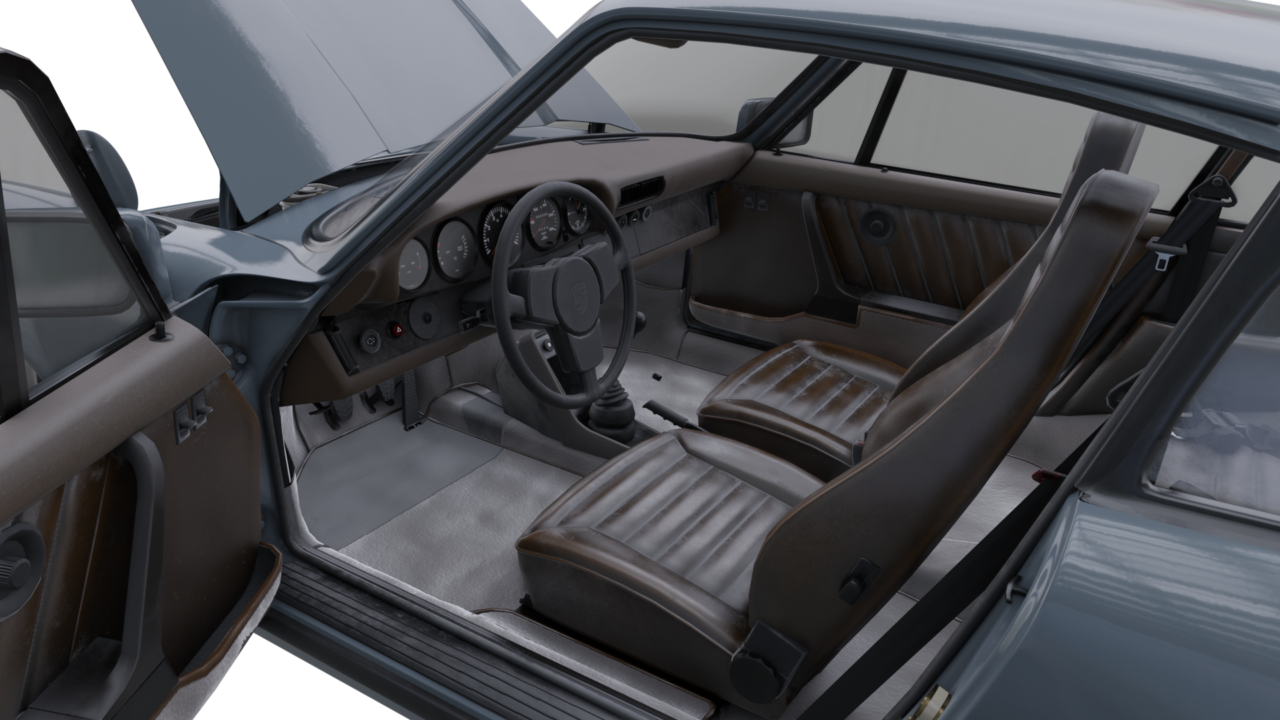
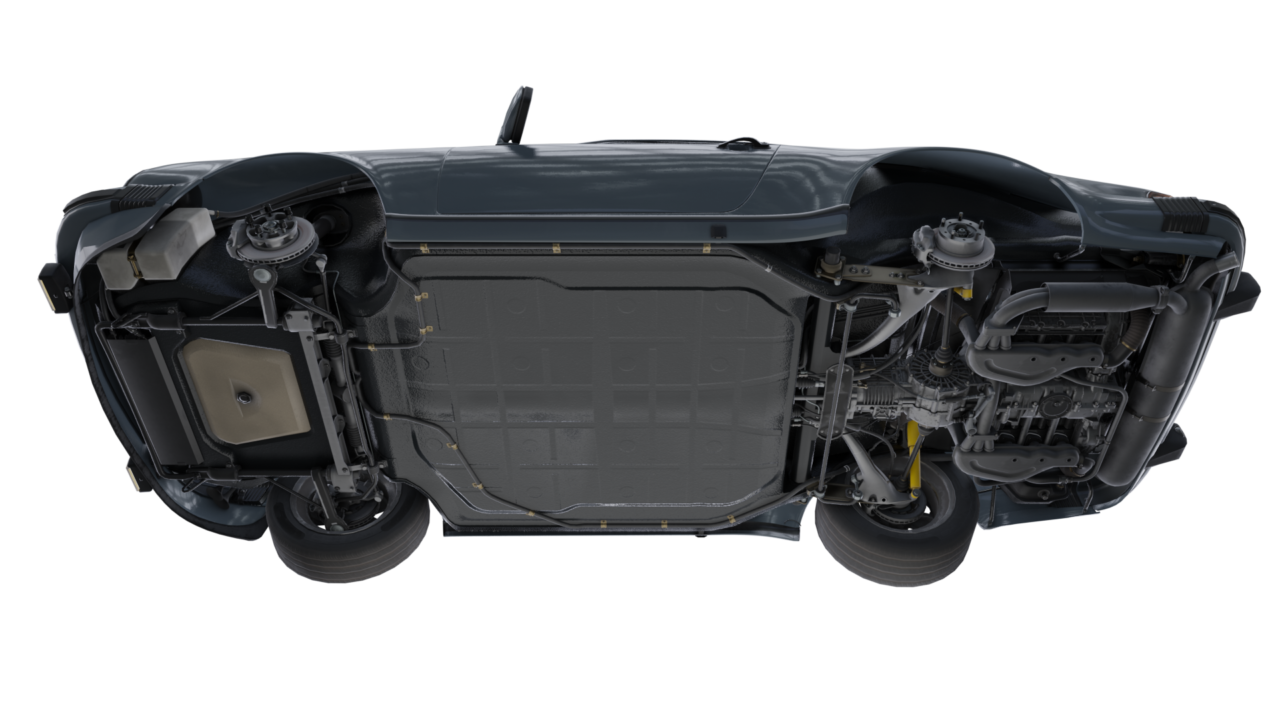
When a certain point was achieved, the chassis and the frame were done, the first flash of hope appeared and it all started to be real fun. Then came the body parts, some of the first details and that moment I thought I’m almost there… How very wrong I was. I was searching the internet for some body details and found an old picture of the car with cutouts that showed the technical details like the engine, the undercarriage, interior details… When I looked back at my “art” I felt embarrassed. The model looked just empty and somehow dull. So I made a plan to fill it with details and took a long internet journey to assemble all the possible details to be at least able to imagine what it can take. I scratched by head for over a week to decide if I want to take this way…

The process was long. As this was just a fun project I needed to finish other work projects and the progress stagnated. Coming back to it after each “break” was not motivating at all, I always started with remodelling some parts, adjusting the level of detail or just deleting and rebuilding details.
When the polygonal work was done (and I was finally satisfied with it) I started the unwrapping process. During that I found a lot of mistakes I made and needed to remodel again and again to make it work for the texture painting but to keep it on the same polycount as before.
After that the texture painting made me redo again those steps many times. The unwrap was not ideal for the painting so I needed to recreate the part of the model, than unwrap it again, pack the whole ensemble together and export it to the painting program. And so on and so forth…
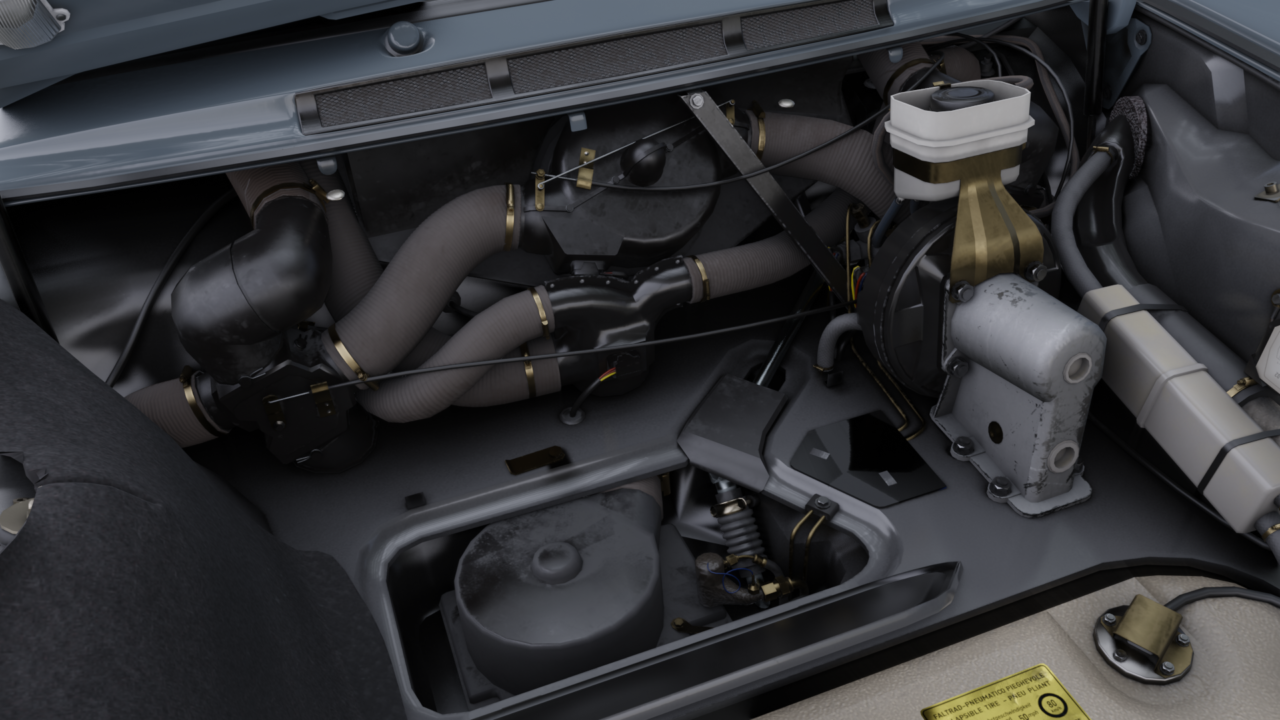
The details about the engine itself can be found here

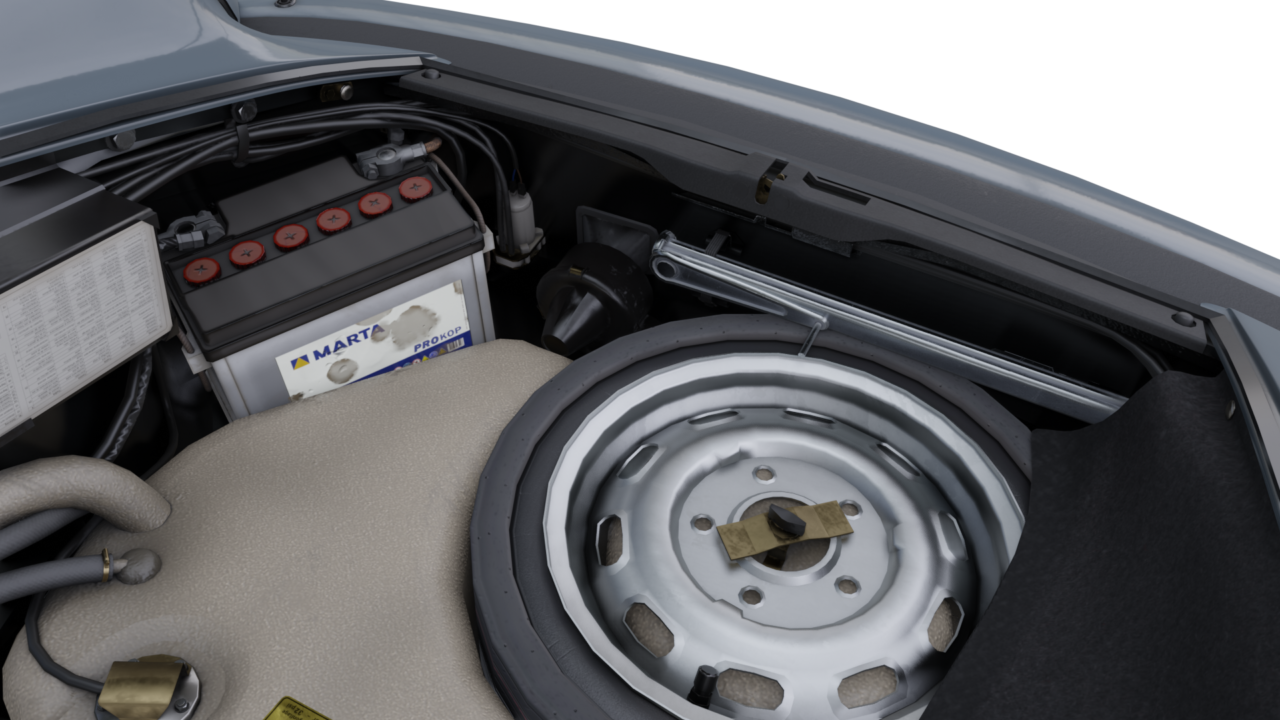
I’ve put together a small library of the details so I can compare where I was aiming and what came out of it in the end. The results were good, I was satisfied but not yet happy. To make it all work for me I’ve had to do some rigging and a short animation to get a bit of life out of it. The whole model started to appear right for me first when parts were moving and the physics begin to work in favour or the haptic effect.
The model was done. A short demo animation has been made. Now it was time to think about some interactivity. It would be great if the scene came to life while been able to influence it. I’ve re-rigged the undercarriage, divided the model into parts and exported everything into Unreal Engine 5. But this is a different part of the story and I’ll make a separate page for it.
Links:
The video from the title @Vimeo

